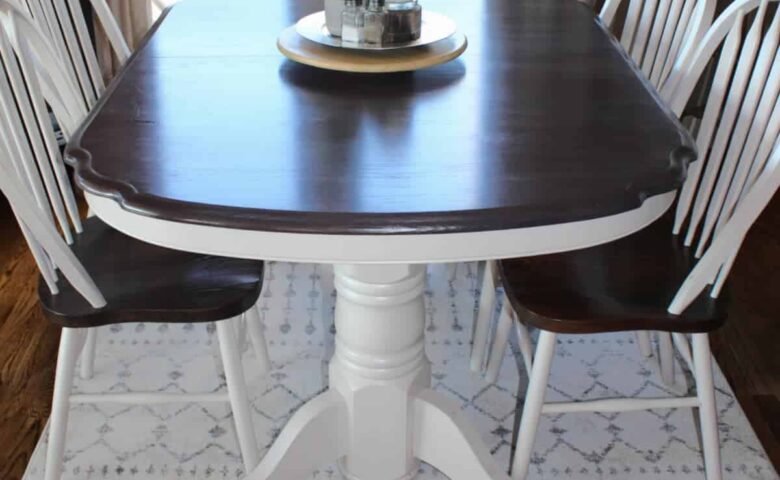
If you have an old wooden table that’s seen better days, don’t toss it out just yet! Chalk paint is a fantastic way to breathe new life into your furniture while adding a charming, rustic touch to your home. Here’s a simple guide on how to use chalk paint to refresh your old wooden tables and turn them into stunning focal points.
Why Choose Chalk Paint?
Chalk paint is popular among DIY enthusiasts for several reasons. It adheres well to almost any surface, requires minimal preparation, and dries quickly. Plus, it offers a beautiful, matte finish that can easily be distressed for a vintage look. Whether you’re going for a shabby chic vibe or a modern twist, chalk paint is versatile enough to meet your design needs.
Step-by-Step Guide
1. Gather Your Supplies
Before you start, gather the following materials:
- Chalk paint (choose your favorite color)
- Paintbrushes (a wide brush for larger areas and a smaller one for details)
- Sandpaper (fine grit)
- A clean cloth
- Clear wax or sealer (optional)
2. Prepare Your Table
Start by cleaning your wooden table thoroughly to remove dust and grime. If the surface has a glossy finish, lightly sand it to create a rough texture for better paint adhesion. Wipe away any dust with a clean cloth.
3. Apply the First Coat
Using your wide brush, apply the first coat of chalk paint evenly across the surface of the table. Don’t worry about achieving perfect coverage; you can always add a second coat. Allow the paint to dry completely—this usually takes about 30 minutes to an hour.
4. Add a Second Coat
Once the first coat is dry, assess the coverage. If needed, apply a second coat of chalk paint for a more opaque finish. Let it dry again, and feel free to add additional coats if you desire.
5. Distress for a Vintage Look (Optional)
If you’re aiming for a distressed look, gently sand the edges and areas that would naturally wear over time. This adds character and charm to your table, giving it that beloved vintage aesthetic.
6. Seal the Finish
To protect your newly painted table, apply a clear wax or sealer. This step is crucial if you plan to use the table frequently. Use a clean cloth to apply the wax in a thin layer, buffing it to a soft sheen once it dries.
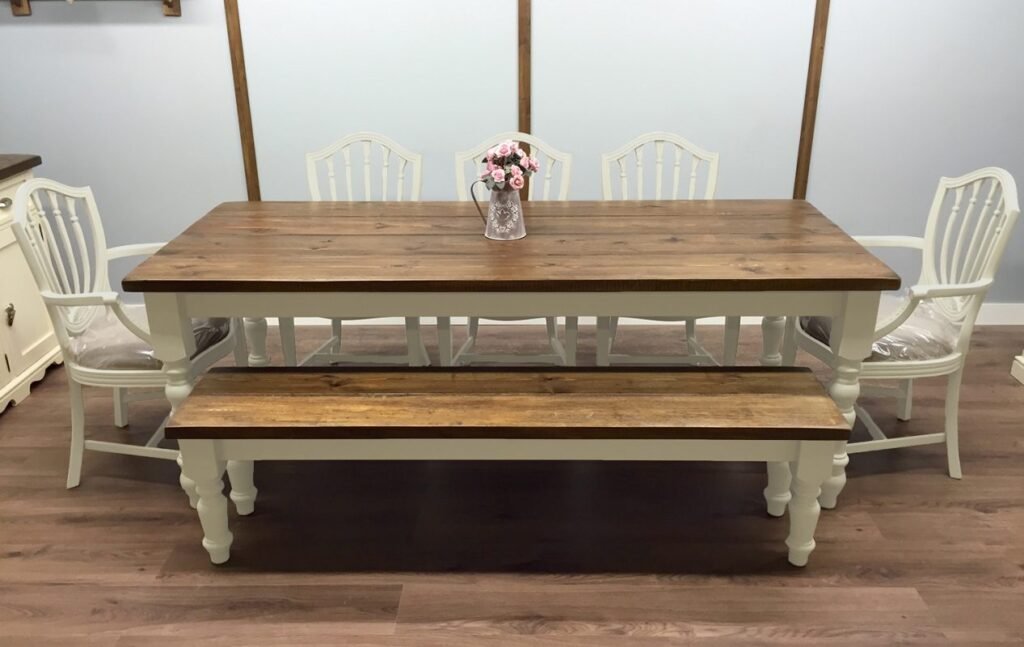
Conclusion
Refreshing your old wooden table with chalk paint is a rewarding DIY project that can transform your space beautifully. With just a few supplies and some creativity, you can create a stunning piece of furniture that you’ll love for years to come. So grab that chalk paint and get started on your furniture makeover today!

Leave a comment