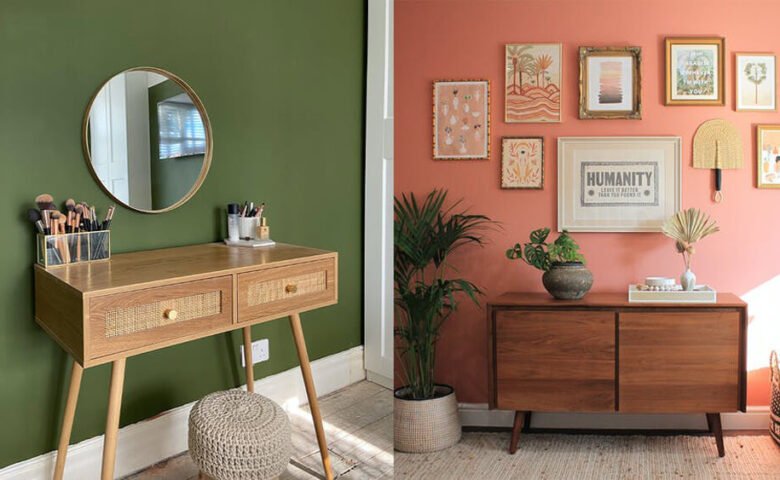
Painting wooden furniture is a fantastic way to breathe new life into your home decor. Whether you want to create a cohesive look or simply refresh an old piece, painting can transform your furniture to perfectly match your interior style. Here’s a step-by-step guide to help you achieve a beautiful finish that complements your home.
Step 1: Choose the Right Paint
The first step in painting wooden furniture is selecting the right paint. For most wooden surfaces, chalk paint, acrylic paint, or latex paint works well. Chalk paint is particularly popular for its matte finish and ease of use, while acrylic paint offers vibrant colors and durability. Make sure to choose a color that complements your existing decor. If you’re unsure, sample a few shades on the furniture before committing.
Step 2: Prepare Your Furniture
Preparation is key to achieving a smooth finish. Start by cleaning your furniture to remove any dust or grease. If the surface is glossy or has a previous finish, lightly sand it to help the new paint adhere better. Wipe down the surface again to remove any dust from sanding.
Step 3: Prime the Surface (Optional)
Priming is optional but highly recommended, especially if you’re painting over a dark or glossy finish. A good primer will create a smooth base for the paint, enhance adhesion, and improve color accuracy. Use a paintbrush or a foam roller to apply the primer evenly, then let it dry completely.
Step 4: Start Painting
Once the primer is dry, it’s time to paint! Using a high-quality paintbrush or a foam roller, apply the paint in thin, even coats. Start with the edges and detailed areas, then move on to the flat surfaces. Depending on the color and type of paint, you may need two to three coats for full coverage. Be sure to allow each coat to dry thoroughly before applying the next.
Step 5: Finish with a Sealant
To protect your newly painted furniture, consider applying a clear sealant. This will enhance durability and make the surface easier to clean. Choose a matte, satin, or glossy finish based on your preference. Apply the sealant according to the manufacturer’s instructions and let it cure fully.
Step 6: Style Your Space
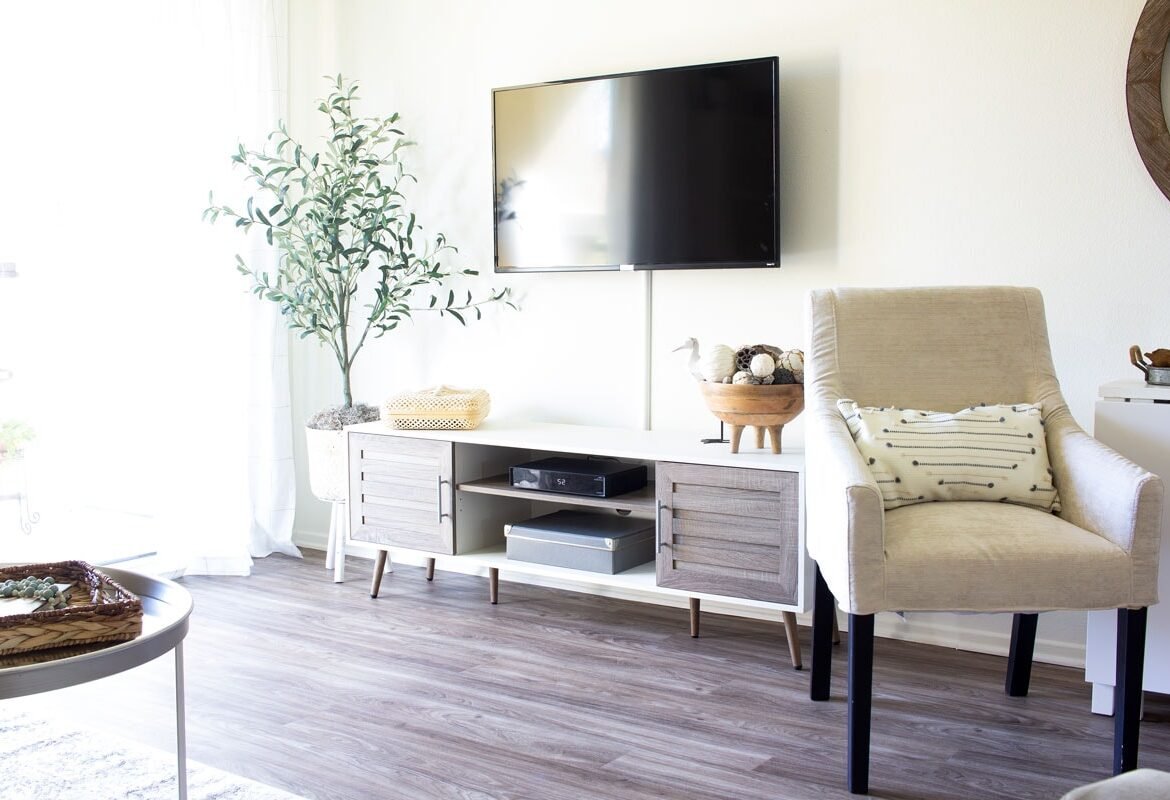
Once your painted furniture is dry and sealed, it’s time to place it back in your space! Consider how it complements your overall interior design. Add decorative elements like throw pillows, artwork, or plants to create a cohesive and inviting atmosphere.
Conclusion
Painting wooden furniture is an enjoyable and rewarding DIY project that can completely transform your home. With the right paint and technique, you can create beautiful pieces that reflect your style and enhance your decor. So gather your supplies, unleash your creativity, and enjoy the process of bringing your furniture to life!

Leave a comment