Step-by-Step Guide to Building Your Own Dining Table
Creating your own dining table is not only a fulfilling DIY project but also a fantastic way to add a personalized touch to your home. Whether you want a rustic farmhouse table or a sleek modern design, building your own dining table allows you to customize the size, shape, and materials to suit your style. Here’s a step-by-step guide to help you craft your dream dining table.
Step 1: Gather Your Materials and Tools
Before diving into the project, gather all the necessary materials and tools. Here’s what you’ll need:
- Materials:
- Solid wood boards (e.g., pine, oak, or reclaimed wood)
- Wood screws
- Wood glue
- Sandpaper (various grits)
- Wood stain or paint (optional)
- Finish (polyurethane or varnish)
- Tools:
- Circular saw or miter saw
- Drill
- Measuring tape
- Clamps
- Level
- Paintbrush or rag (for staining)
Step 2: Design Your Table
Determine the size and shape of your dining table based on your space and needs. A standard dining table is typically 28 to 30 inches high and can range from 60 to 96 inches long, depending on how many people you want to seat. Sketch your design, including the dimensions of the tabletop and legs.
Step 3: Cut Your Wood
Using your saw, cut the wood boards according to your design. For the tabletop, you’ll need several boards that will be joined together. Cut the legs to your desired height, typically around 28 inches. Ensure all cuts are straight and accurate for a professional finish.
Step 4: Assemble the Tabletop
Lay the boards for the tabletop side by side on a flat surface. Apply wood glue between the joints of each board for added strength, then use clamps to hold them together. Allow the glue to dry according to the manufacturer’s instructions. Once dry, secure the boards with screws from the underside for extra stability.
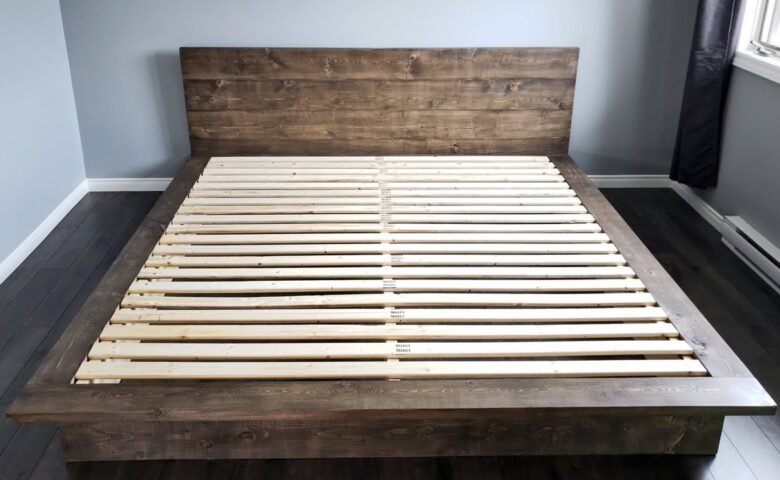
Step 5: Attach the Legs
To attach the legs, flip the tabletop over and position the legs at each corner. Use wood screws to secure the legs to the underside of the tabletop, ensuring they are straight and even. For additional support, consider adding a cross beam between the legs.
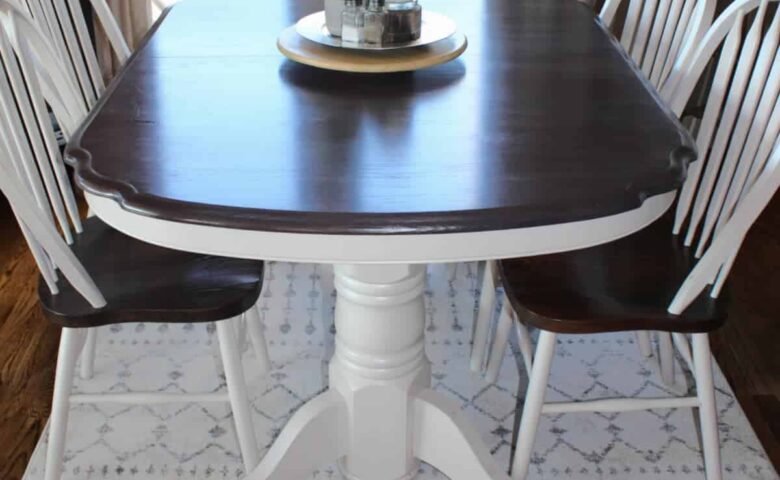
Step 6: Sand and Finish
Once the table is assembled, sand all surfaces, starting with a coarse grit and moving to a finer grit. This will ensure a smooth finish and remove any imperfections. After sanding, clean the surface and apply your chosen wood stain or paint. Allow it to dry completely, then apply a protective finish like polyurethane to seal the wood.
Step 7: Final Touches
After the finish is dry, check for any rough spots and sand them down if necessary. Place your new dining table in your desired location, and enjoy the satisfaction of having built it yourself!
Conclusion
Building your own dining table is a rewarding project that can enhance your home’s dining experience. With a bit of time, effort, and creativity, you can craft a beautiful, custom piece that suits your style and space perfectly. So gather your materials, roll up your sleeves, and start building your dream dining table today!